Using the IPMI (Intelligent Platform Management Interface) functionality provided by the Super Micro motherboard, you can basically configure the BIOS, install the FreeNAS OS and use your computer via a network connection. This avoids the need to hook a monitor and keyboard up to your server, it also allows you to mount an ISO as a virtual drive allowing you to install the OS incredibly easily. This post walks you through the process of installing FreeNAS using this method.
Category Archives: FreeNAS
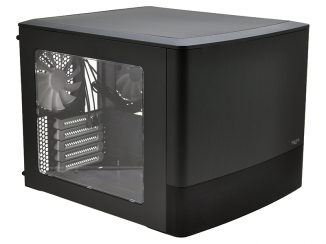
FreeNAS Project – Finished Build
After researching the specification, saving for all the bits and waiting for the delivery of all the components the day finally comes. BUILD DAY!
FreeNAS Project – DVD ripping
So, youve got your FreeNAS server up and running, installed Plex media server to play movies directly to your TV and then it hits you! “How the DVDizzle am I going to rip all my disks”
FreeNAS Project – Introduction
Data backups can save you allot of time, especially if you put a lot of work into that document. They can also stop you losing that awesome photo. DVD’s and CD’s can also take up allot of shelf space with those artwork covered protective boxes used to cocoon those easily scratched shiny plastic disks.
Backup and save space all in one solution: FreeNAS. Create a network share that can then back up to the cloud. Digitize those circular plastic bastards and with the right set-up you can stream the video our music to your TV, Tablet or even your mobile.
FreeNAS Project – Hardware
FreeNAS, like any other bit of software, needs a computer to run on! Here is the chosen hardware specification for SaltiNAS.
FreeNAS Project
A project all about building and configurting a FreeNAS Server.